The Z1 Dashboard software allows you to easily customize the display to suit your style. This customization
is done using the Settings Dialog, accessible by clicking the Settings Icon

while not connected to a sim, or by selecting 'Settings' from the menu when not in the car. Note that each
instance of the Z1 Dashboard software can have different settings. Changing settings for a particular
instance only effects that instance.
The settings dialog contains several tabs with specific settings under each one. This page describes the
Warning Lights tab.
This is where you set up how the left and right warning lights behave for on-screen dashboards and external
LEDs.
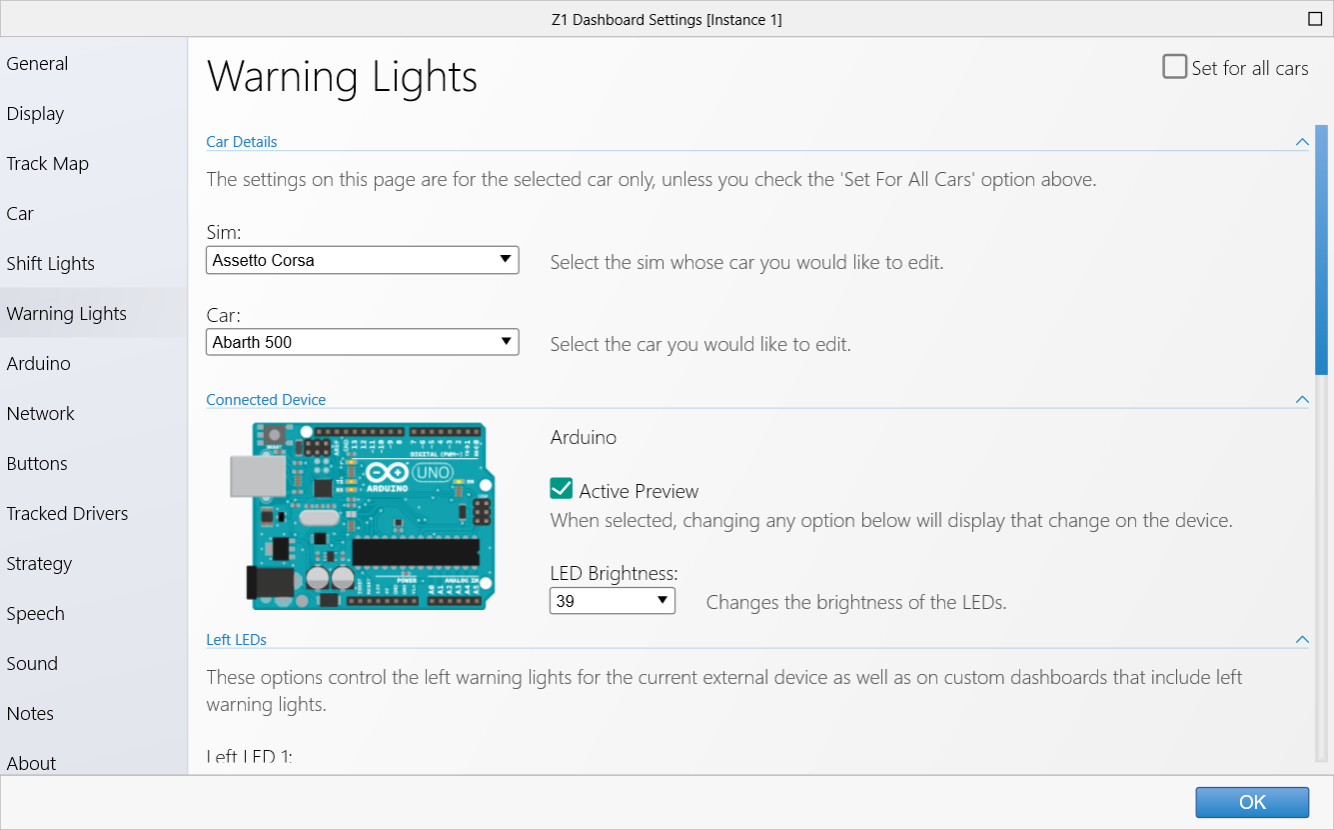
Car Details / Connected Device
 Set For All Cars:
By default the settings on this page only effect the currently selected car. You can have different
settings for every car in every sim.
If you select this checkbox then when you save the current shift light definition, by clicking the OK button,
the definition will be saved for all cars in the currently selected sim, including the default dashboard.
This allows you to very easily assign the same warning lights to all cars. Note that if you do this it will
overwrite all other car definitions for the sim.
Sim:
This is the name of the sim whose cars you want to edit. This will automatically be set to the currently
connected sim. If the Dahsboard is not connected to a sim, then you will have to choose the appropriate
one from the list.
Car:
This is the car that you want to edit. Like the sim drop down, this will automatically be set the the
currently selected car in the current sim. If the Dashboard is not connected to a sim, or no car is
selected in the current sim, then you will have to choose the car from this list. The list only shows
cars that are available in the currently selected sim.
Connected Device:
If you have a hardware device that is recognized by the Z1 Dashboard then it will be displayed here.
In this example we have an Arduino device connected.
Active Preview:
If this option is selected then whenever you make a change to an action below the device will illuminate
the appropriate LEDs effected by that action.
LED Brightness:
This lets you change the brightness of the LEDs on your external device. The higher the number the
brighter the LEDs will be.
Left LEDs
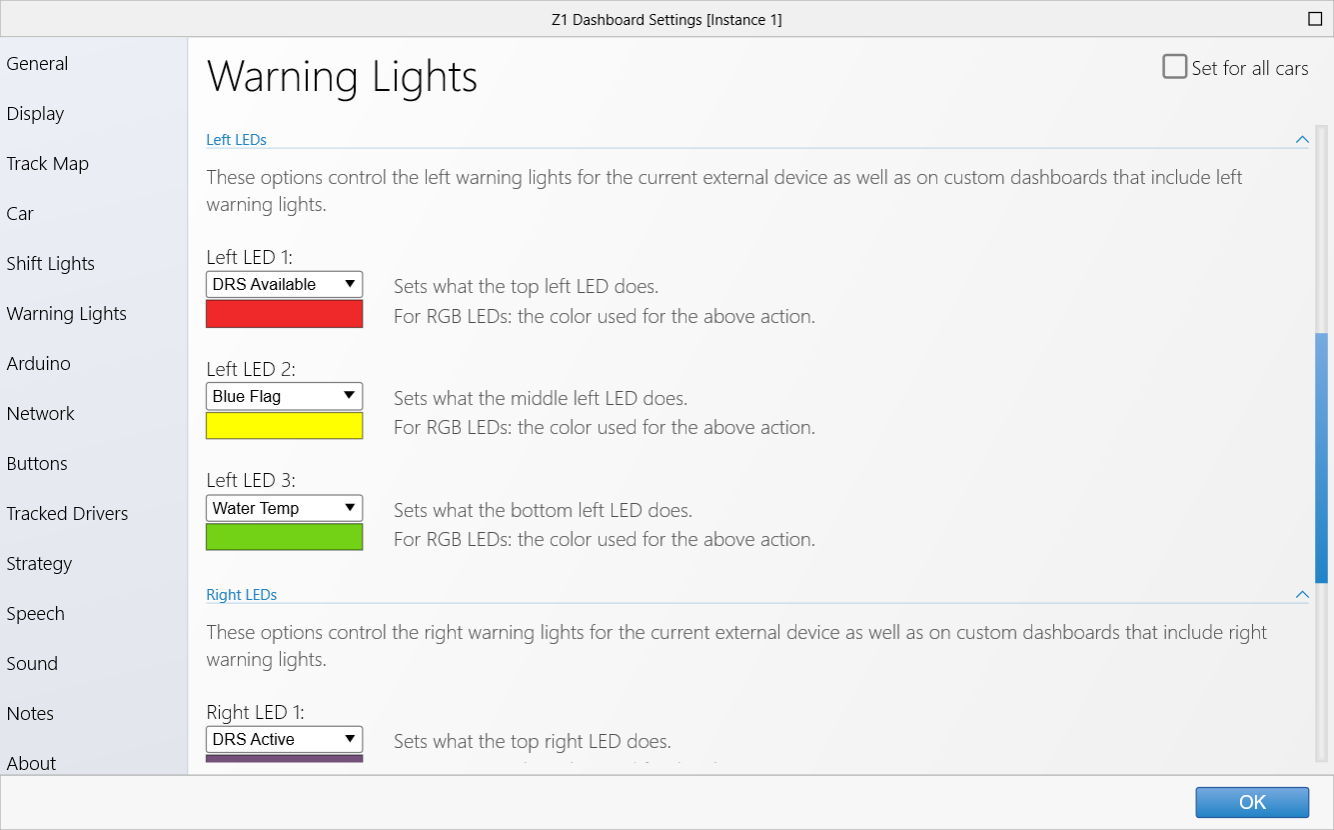
These options control the left warning lights for the current external device as well as on custom dashboards
that include left warning lights.
Left LED 1:
This sets what the first left warning LED will illuminate. This is usually the top left most LED.
The color swatch indicates the color used for the specified action.
Left LED 2:
This sets what the second left warning LED will illuminate. This is usually the middle left most LED.
The color swatch indicates the color used for the specified action.
Left LED 3:
This sets what the third left warning LED will illuminate. This is usually the bottom left most LED.
The color swatch indicates the color used for the specified action.
Right LEDs / Other
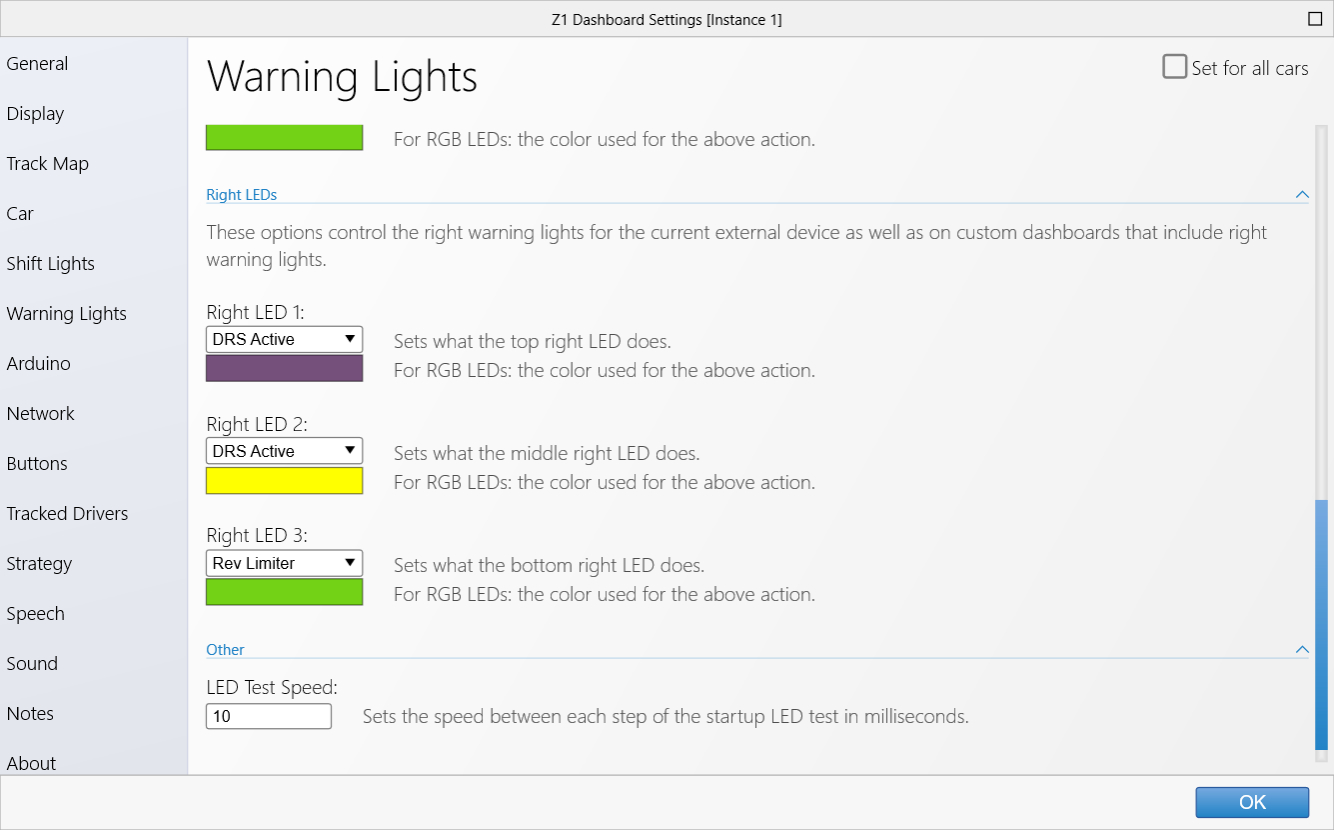
These options control the right warning lights for the current external device as well as on custom dashboards
that include right warning lights.
Right LED 1:
This sets what the first right warning LED will illuminate. This is usually the top right most LED.
The color swatch indicates the color used for the specified action.
Right LED 2:
This sets what the second right warning LED will illuminate. This is usually the middle right most LED.
The color swatch indicates the color used for the specified action.
Right LED 3:
This sets what the third right warning LED will illuminate. This is usually the bottom right most LED.
The color swatch indicates the color used for the specified action.
LED Test Speed:
This is the length of time, in milliseconds, that each LED will remaining illuminated on an external device
when performing the LED test.
 Manual Index